It's been a while since I updated Patchwork Pea. In my defence I have been busy leaving my old job, travelling to America, starting a college course, going freelance (my new website
clarerosefoster.co.uk is here) and finding new part time work.
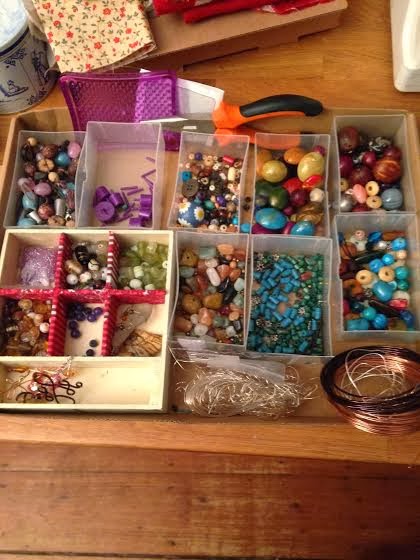
But I've still had time to make a few bits and bobs. For my 30th birthday I received London Jewellery Supplies vouchers from one friend and a whole starter jewellery making kit from another.
It was a good opportunity to make use of my box of old necklaces as well - I dismantled them and started collecting the beads and findings.
I bought a beginners jig and started trying to twist some wire.
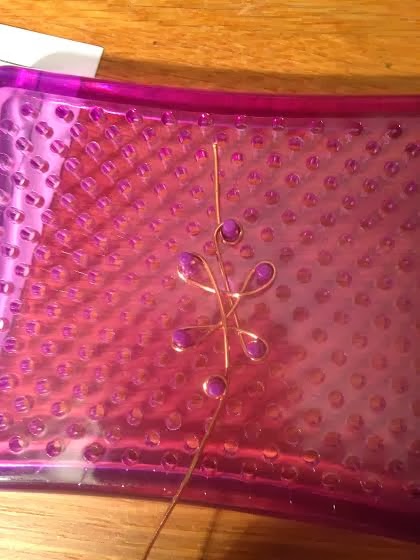
Jigs are fantastic pieces of kit. You place the pegs wherever you want to make a pattern and then twist your wire around them.
Here are some of my first experiments:
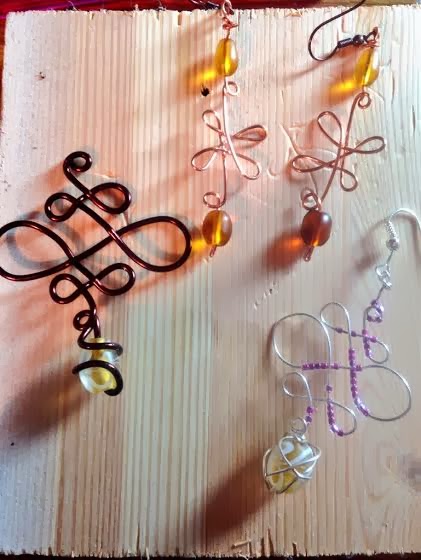
The silver one with the pink beads has a wire wrapped bead on the end. I wanted to use this shape and technique to make some earrings as Christmas presents for a friend having a Christmas party. Here they are in process:

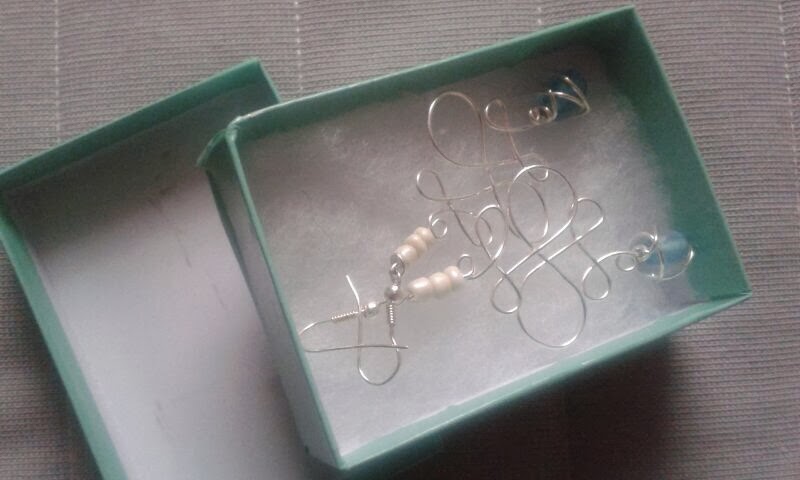
And here are the finished earrings, in a little presentation box with some cotton wool: